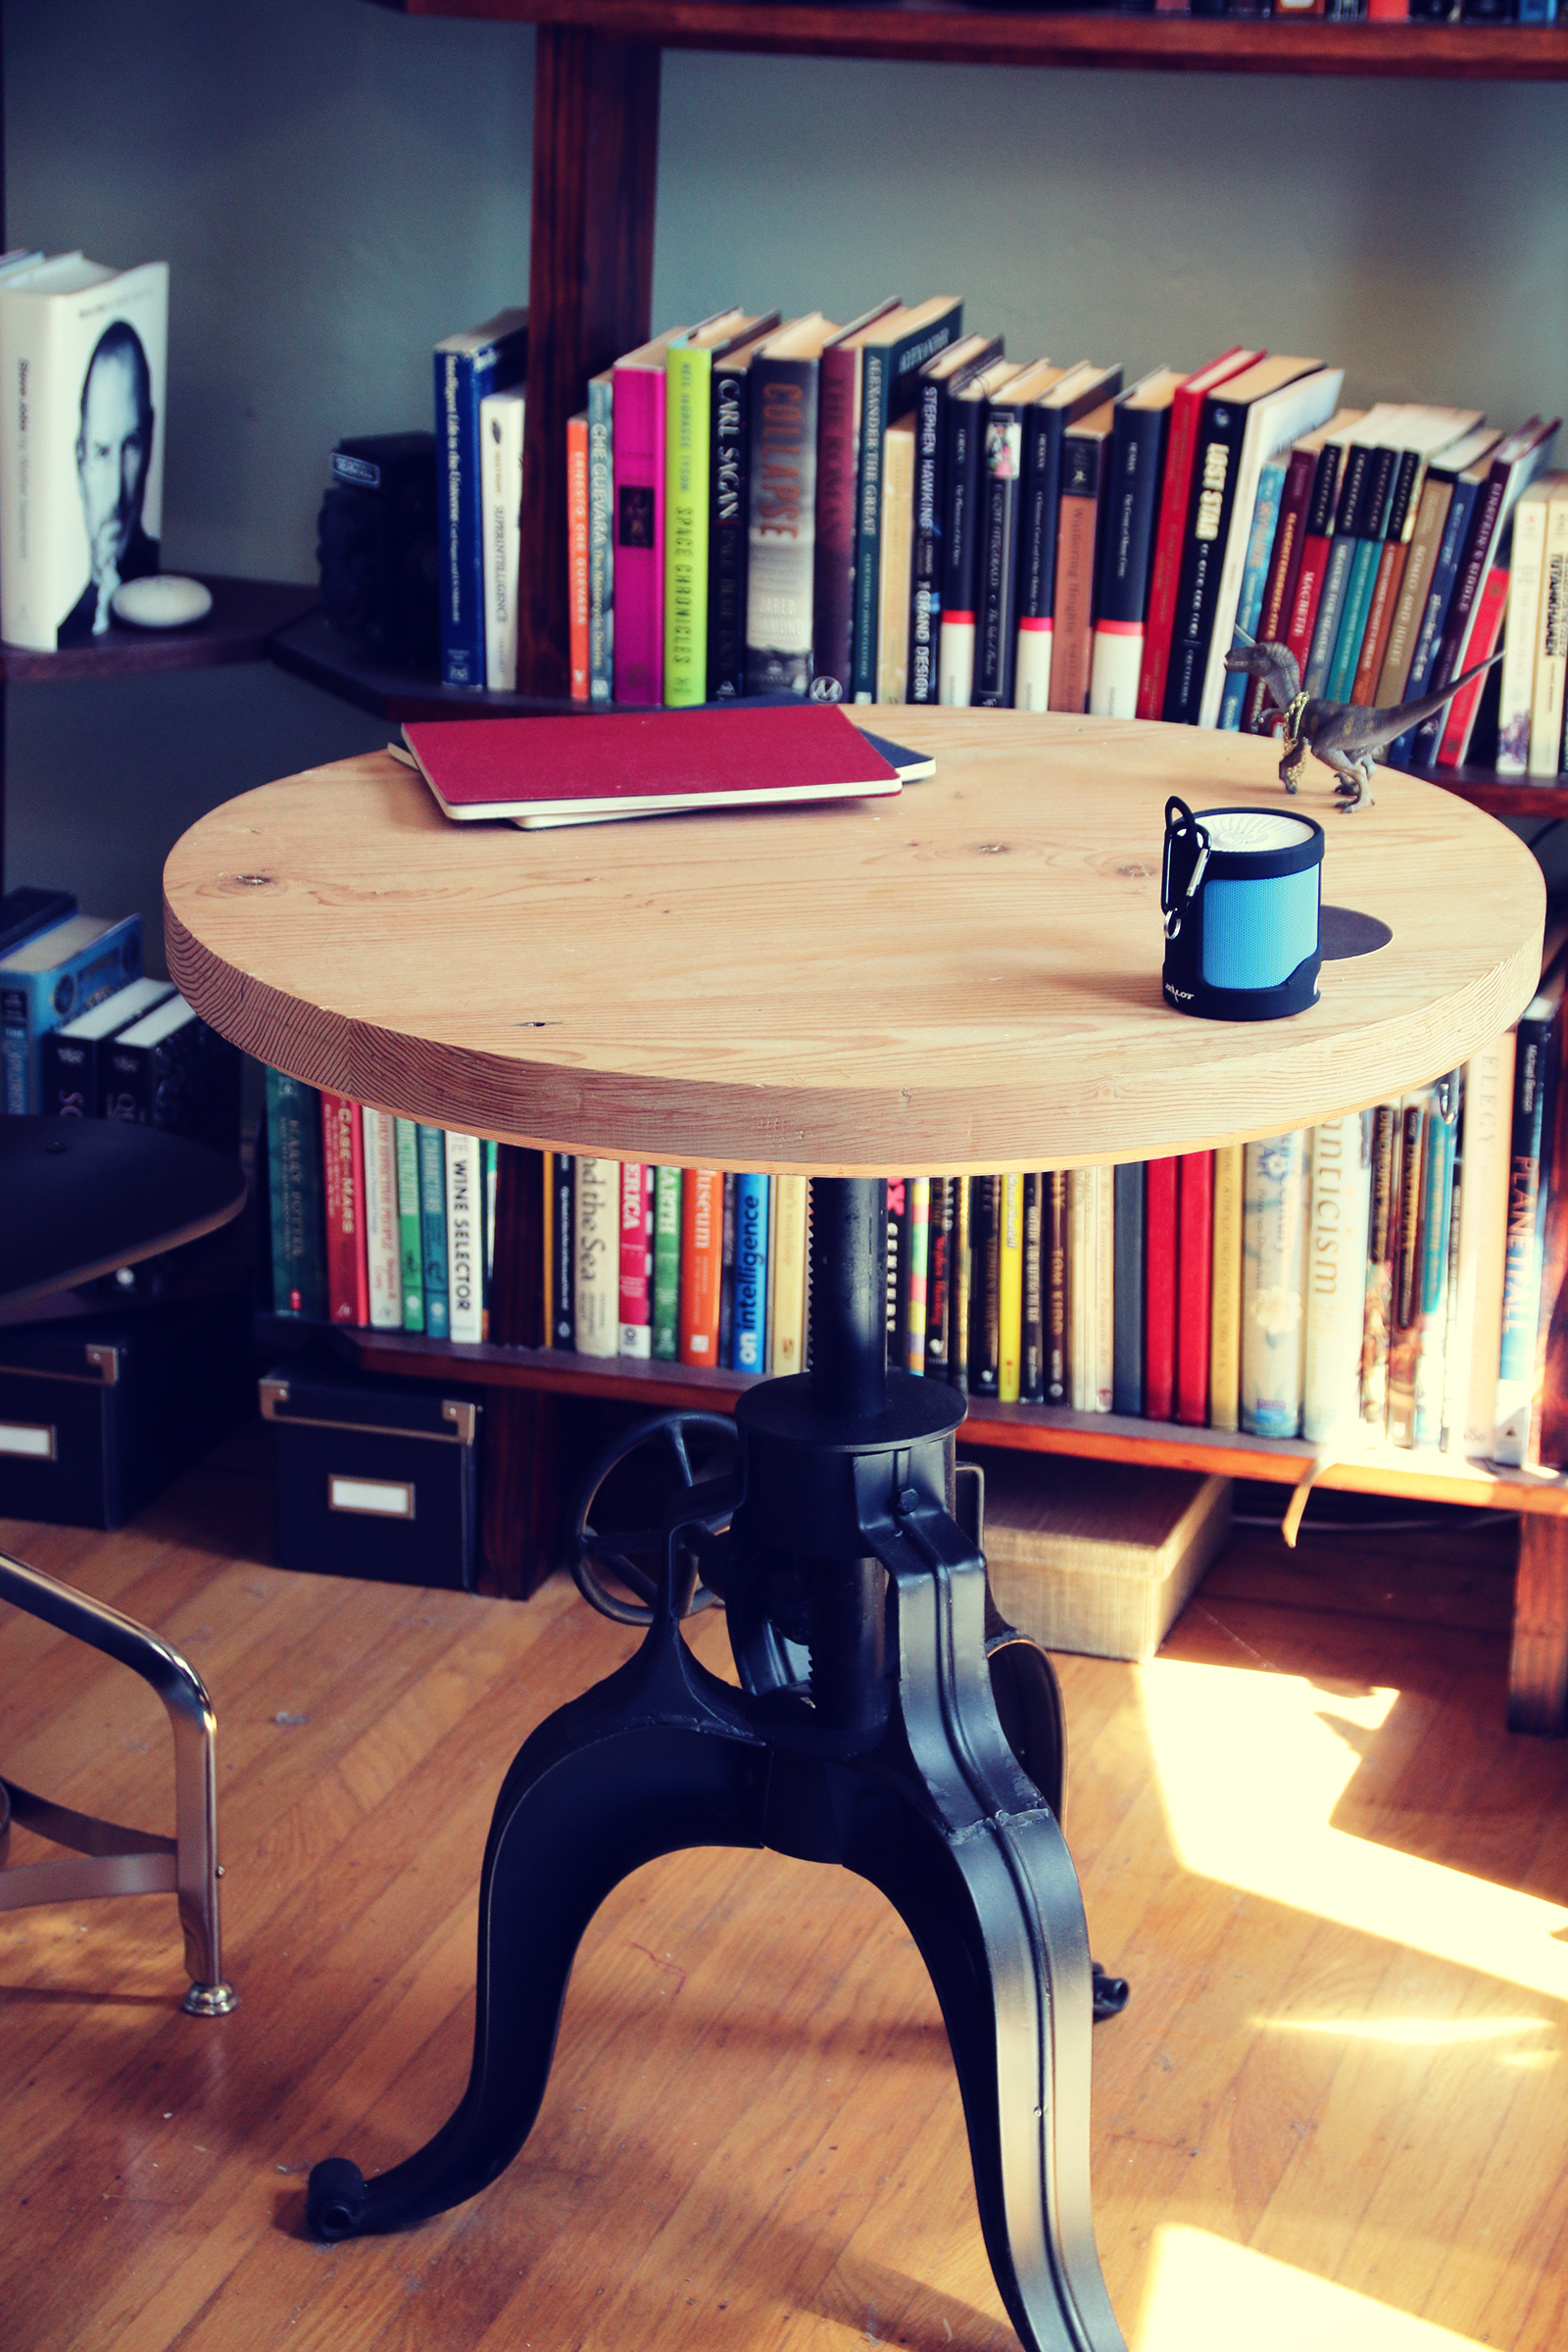
I wanted a sturdy small table for my apartment, and was able to find a cast iron base to build from.
I made a trip up to Heritage Salvage in Petaluma, and purchased a few cedar beams that were originally taken from one of the buildings in Monterey where John Steinbeck worked, had drawn inspiration for his novel Cannery Row.
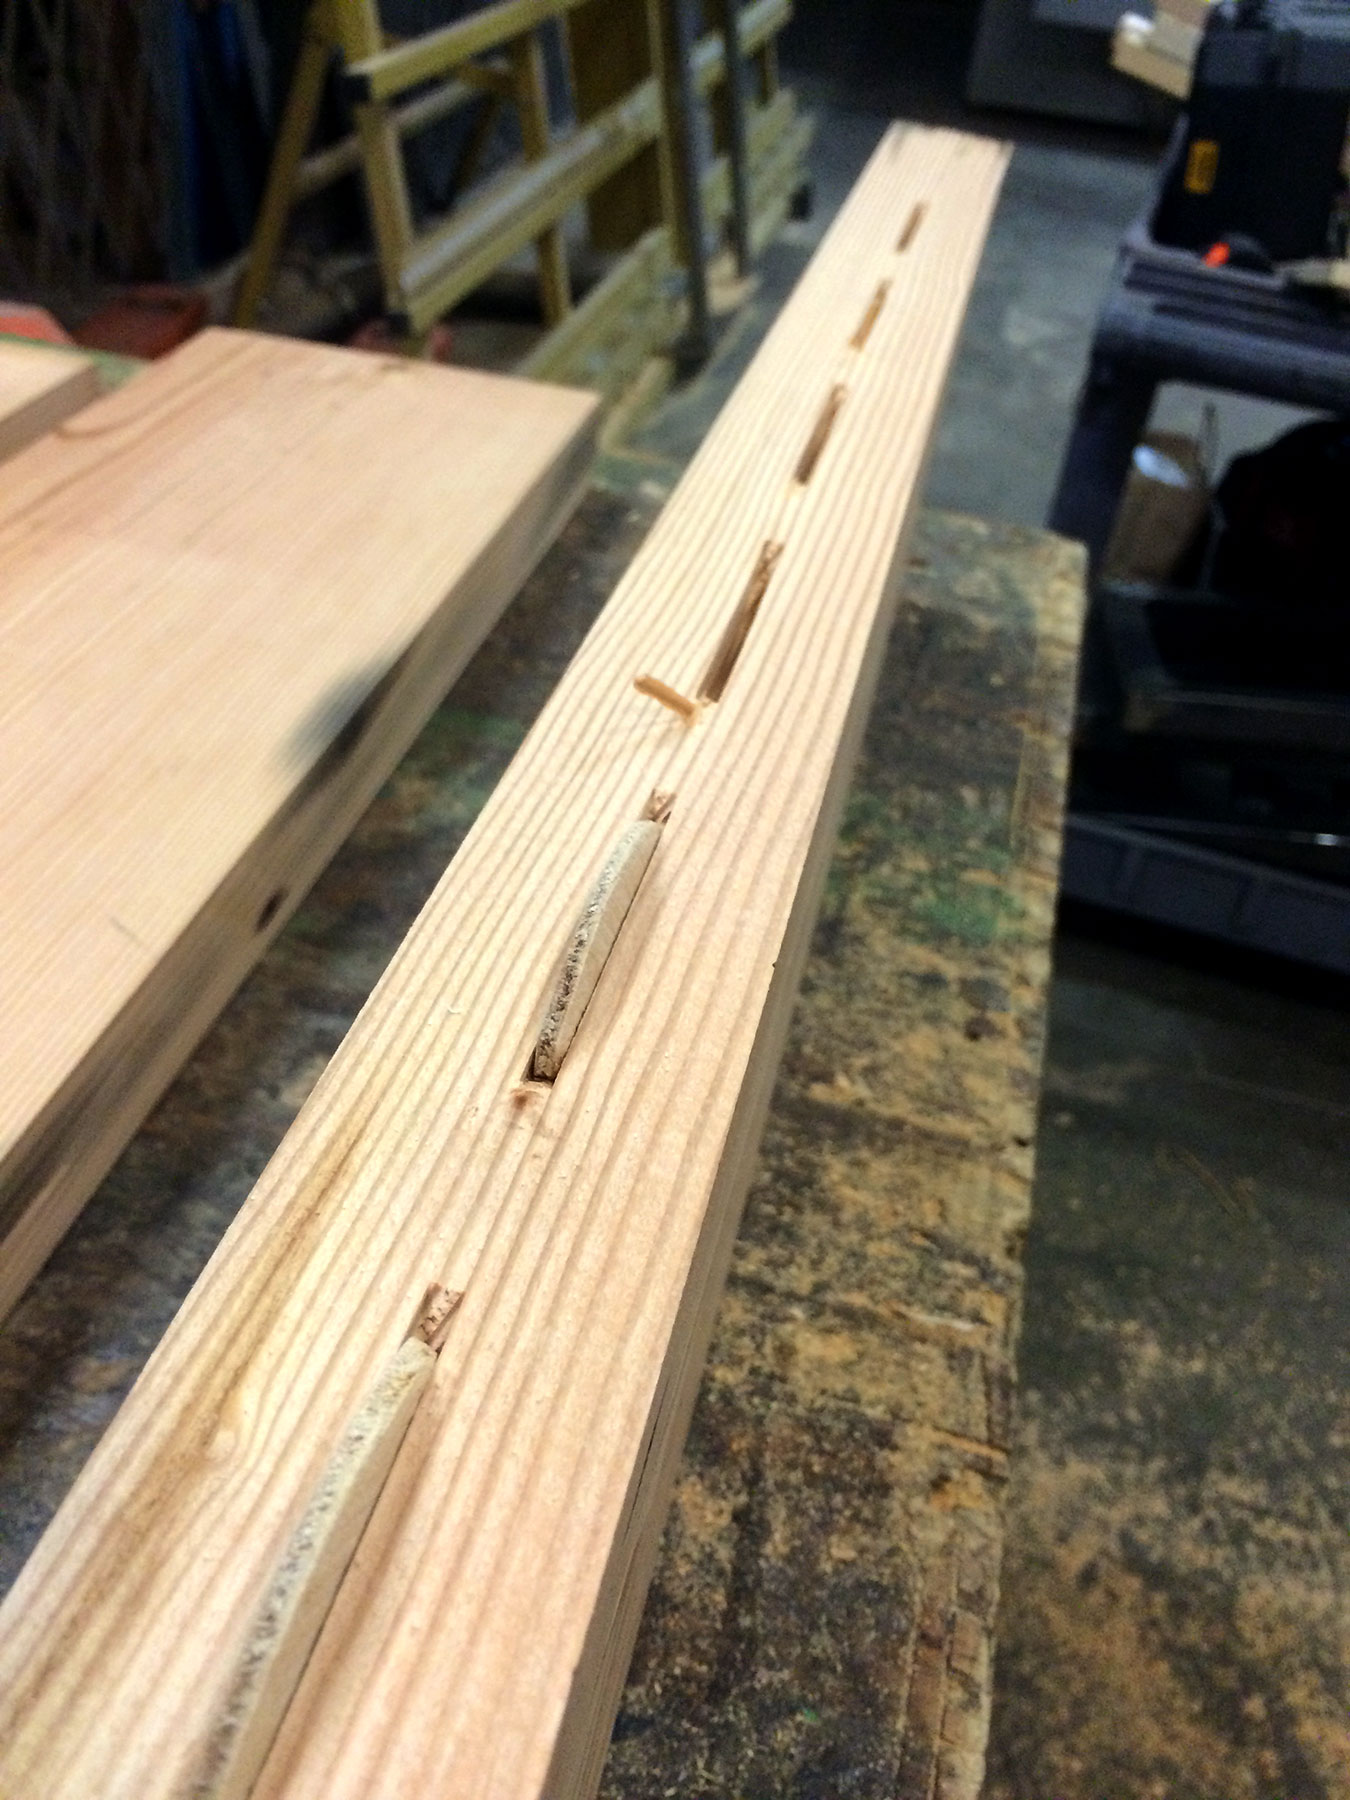
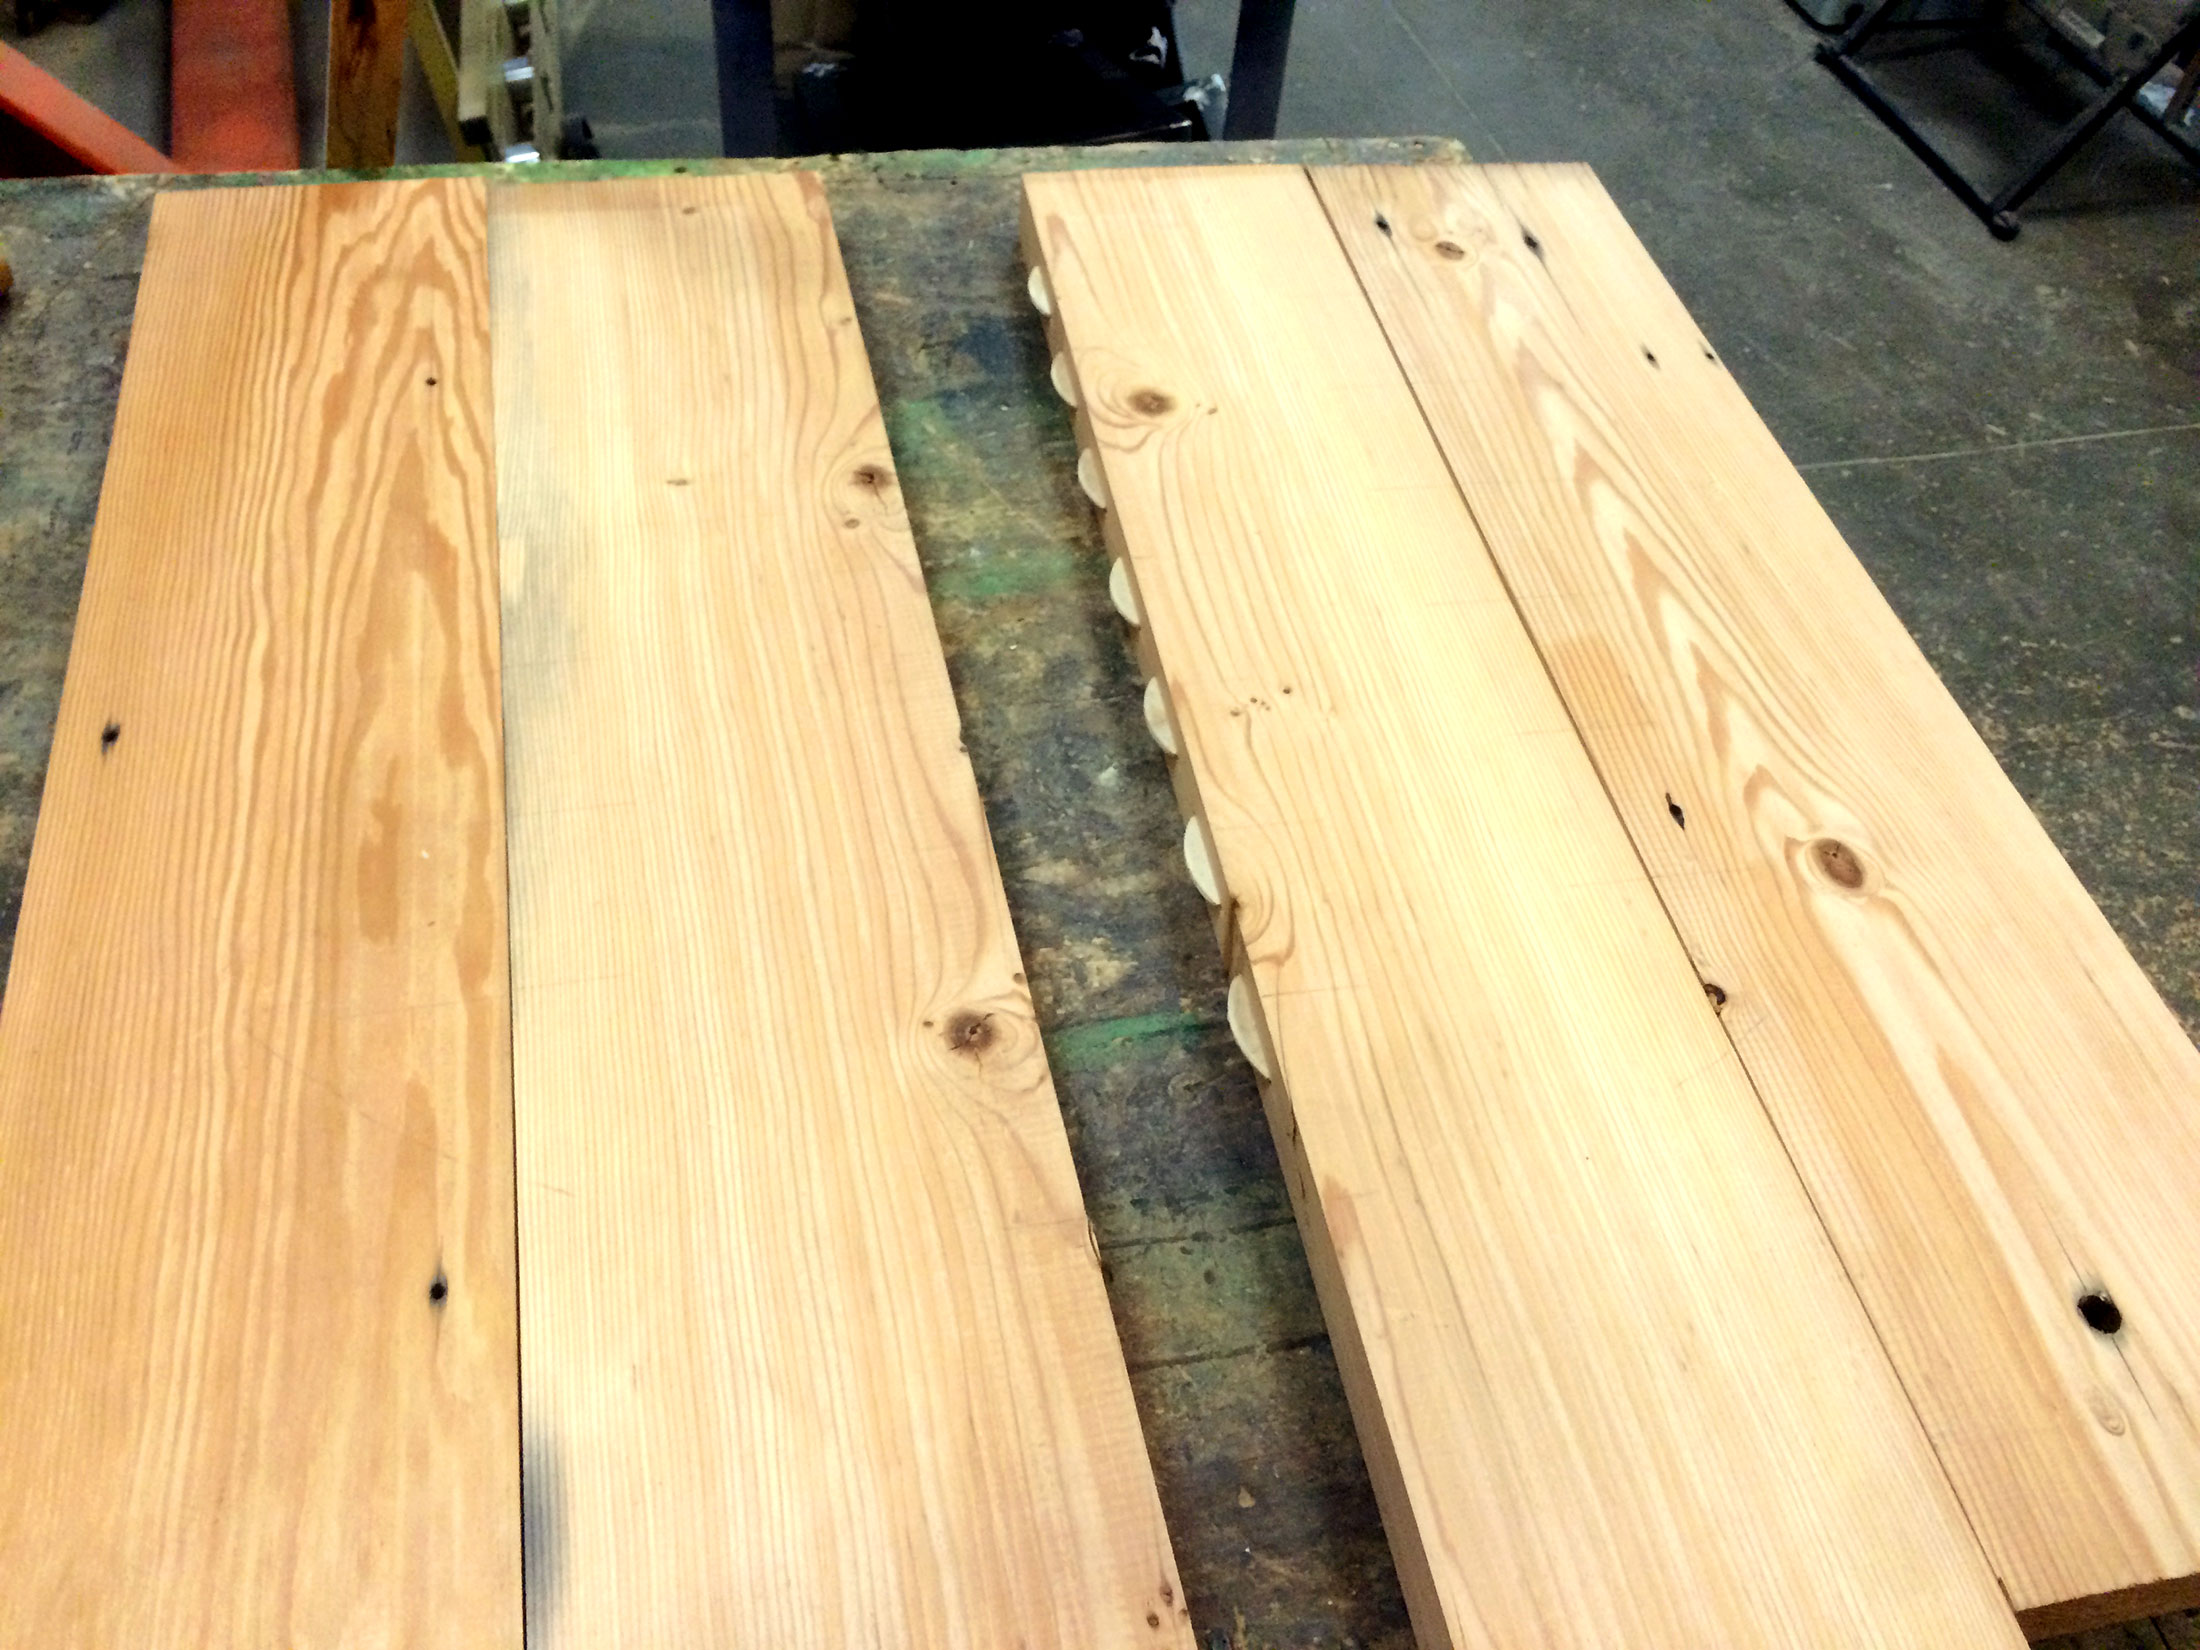
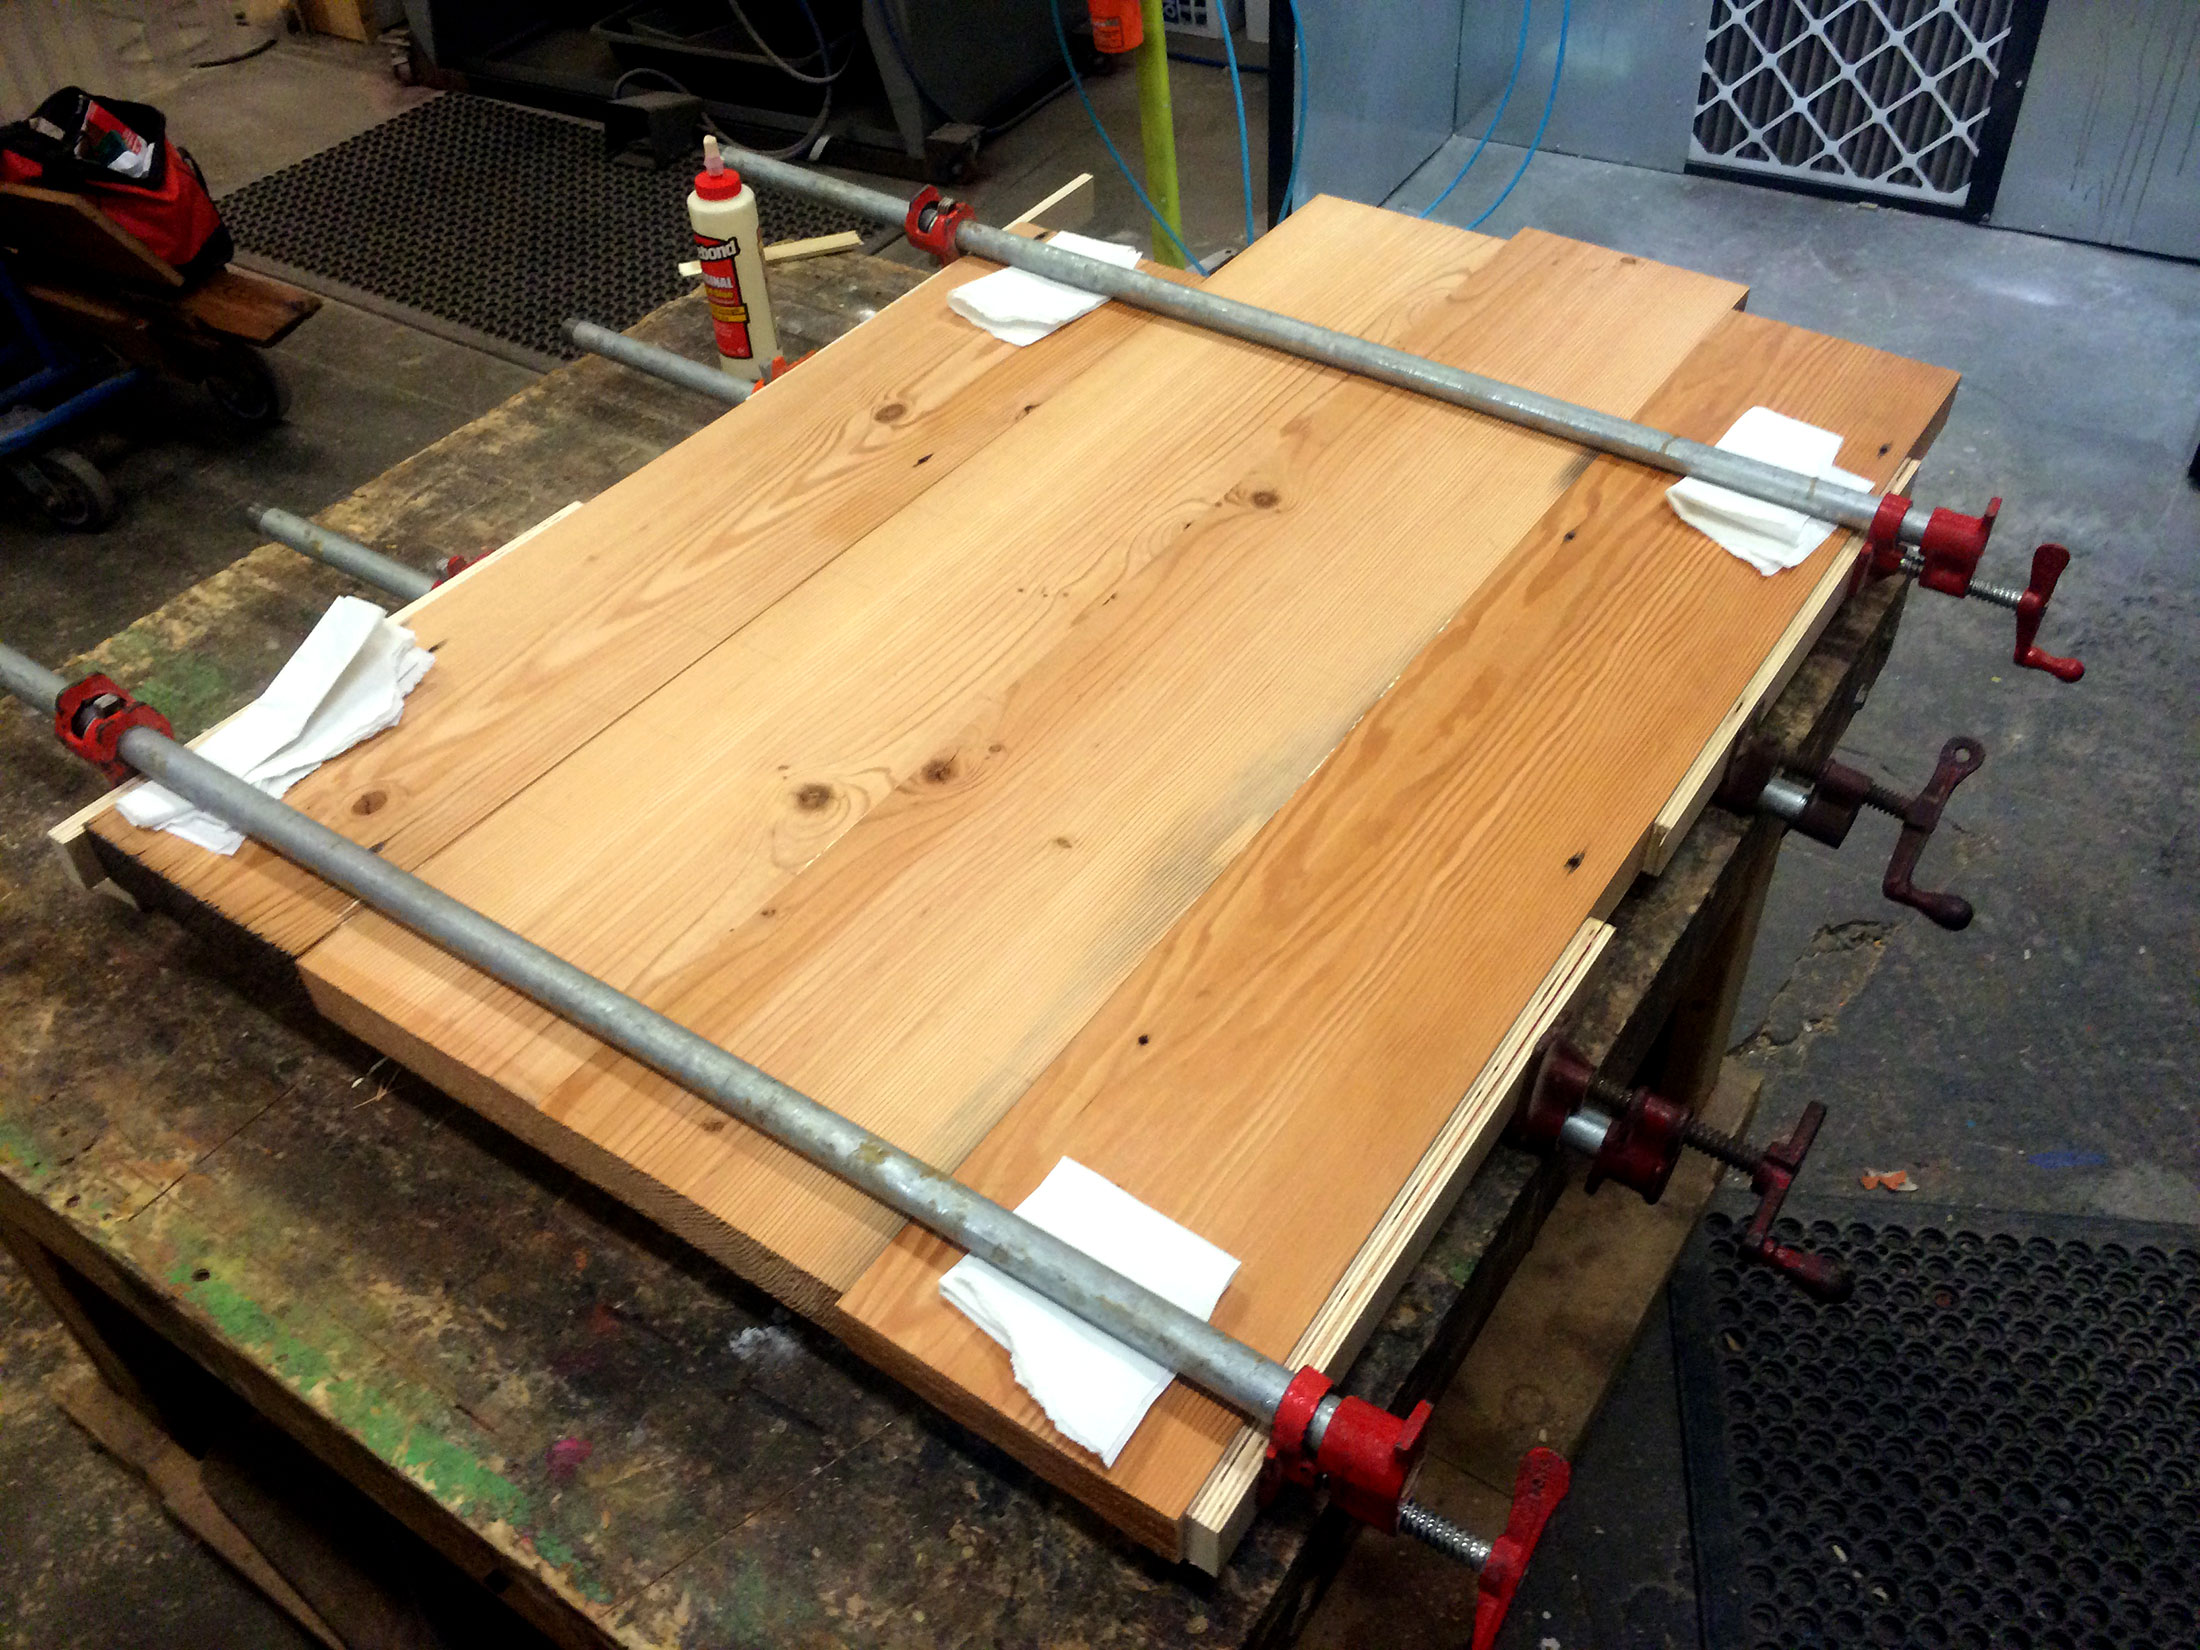
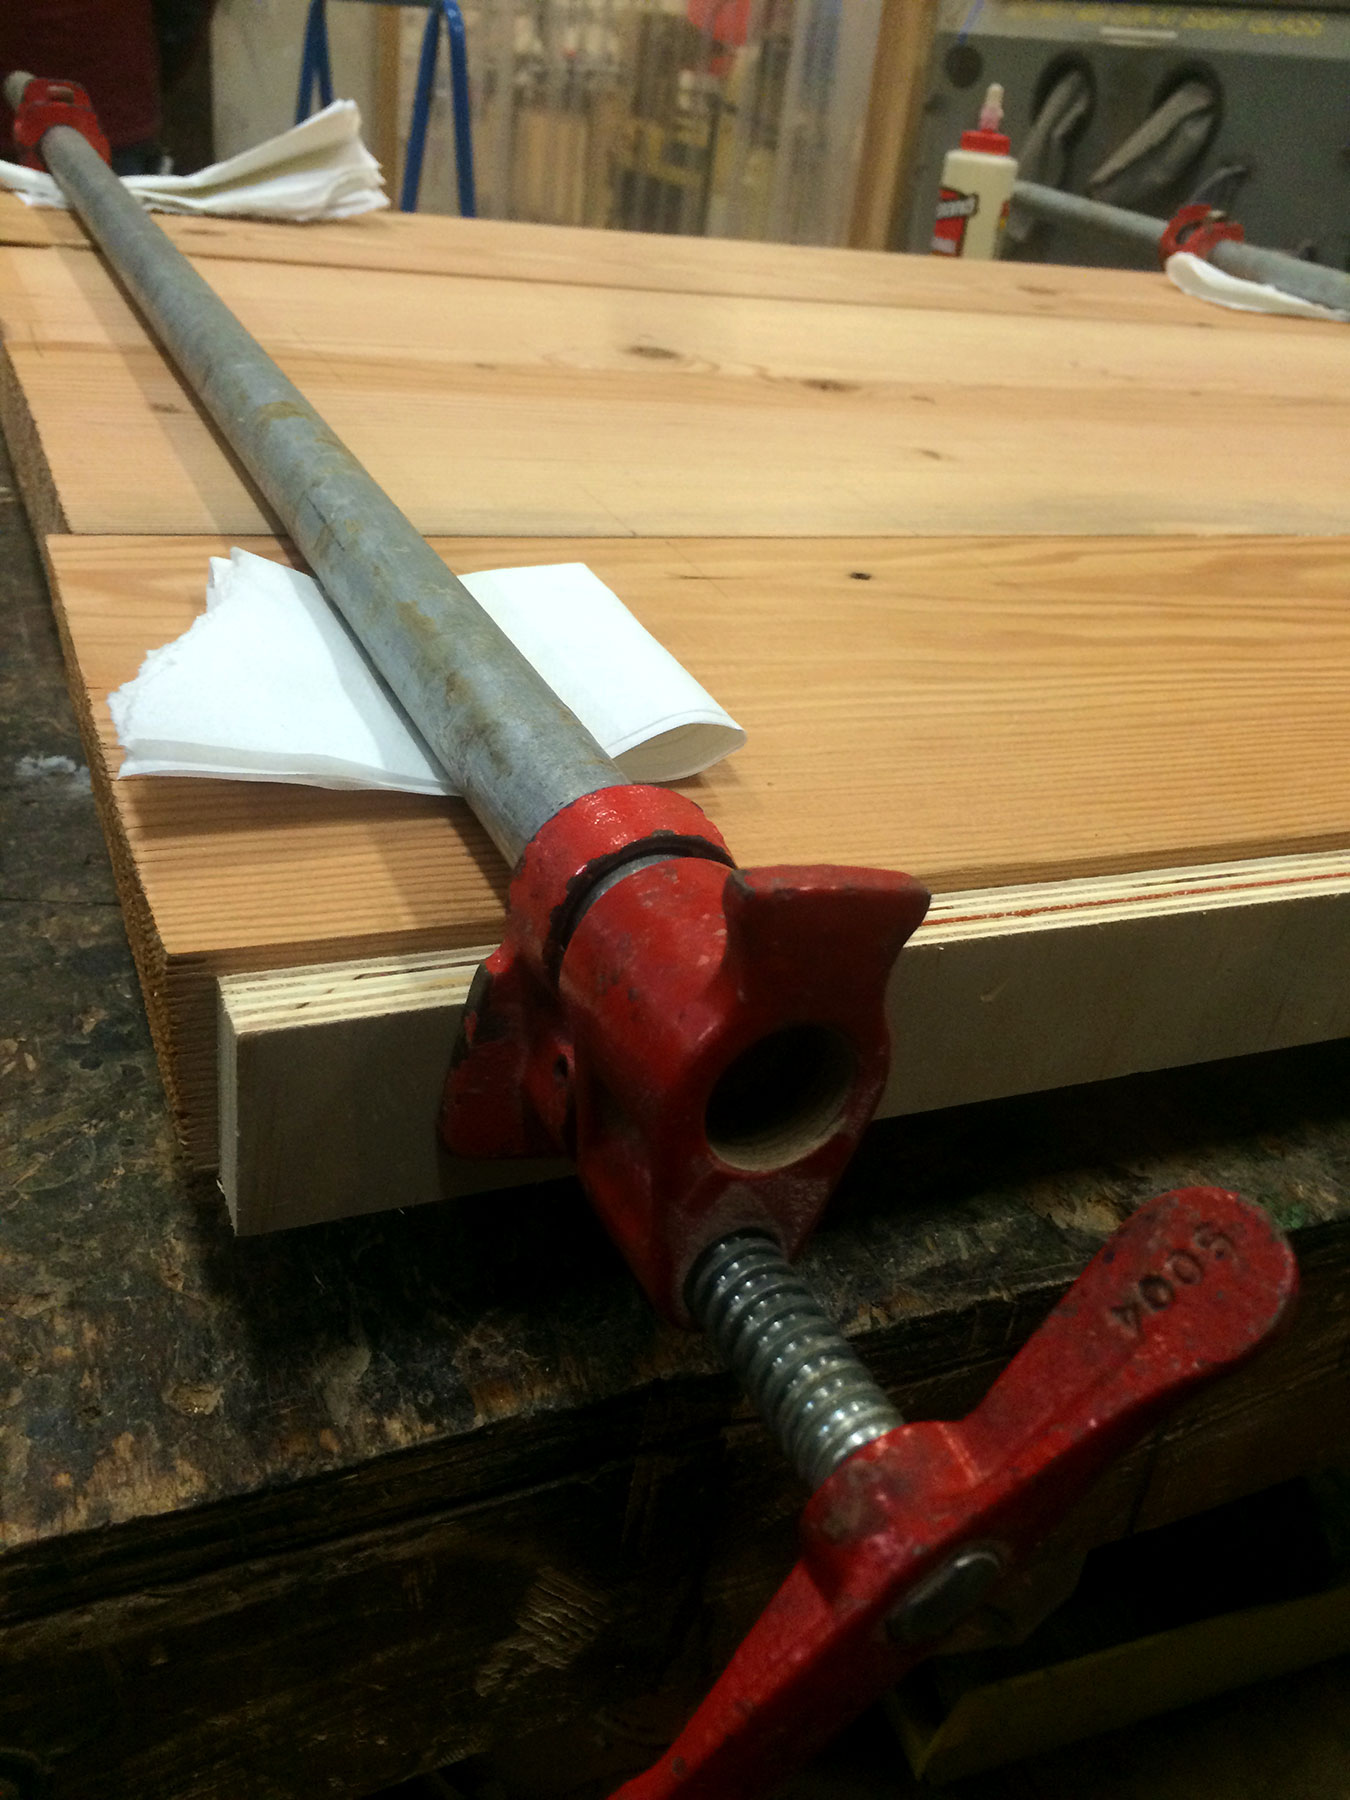
First, I used a planer to cut the beams down to a smaller width, removing a lot of the surface damage in the process. I also used a table saw to cut pieces to the right length/width, taking the opportunity to avoid splits and nails in the wood. Once that was done, I used a biscuit joiner to cut grooves for each biscuit and proceeded to glue the pieces together and clamp.
I always use pieces of wood as spacers between pipe clamps and the actual wood of a piece. This does two things: 1) It protects the wood that I actually care about from getting dented/stained/scratched by the clamps, and 2) it helps distribute the force of the clamp over a wider area, making the hold more even and less likely to cause dents or warping.
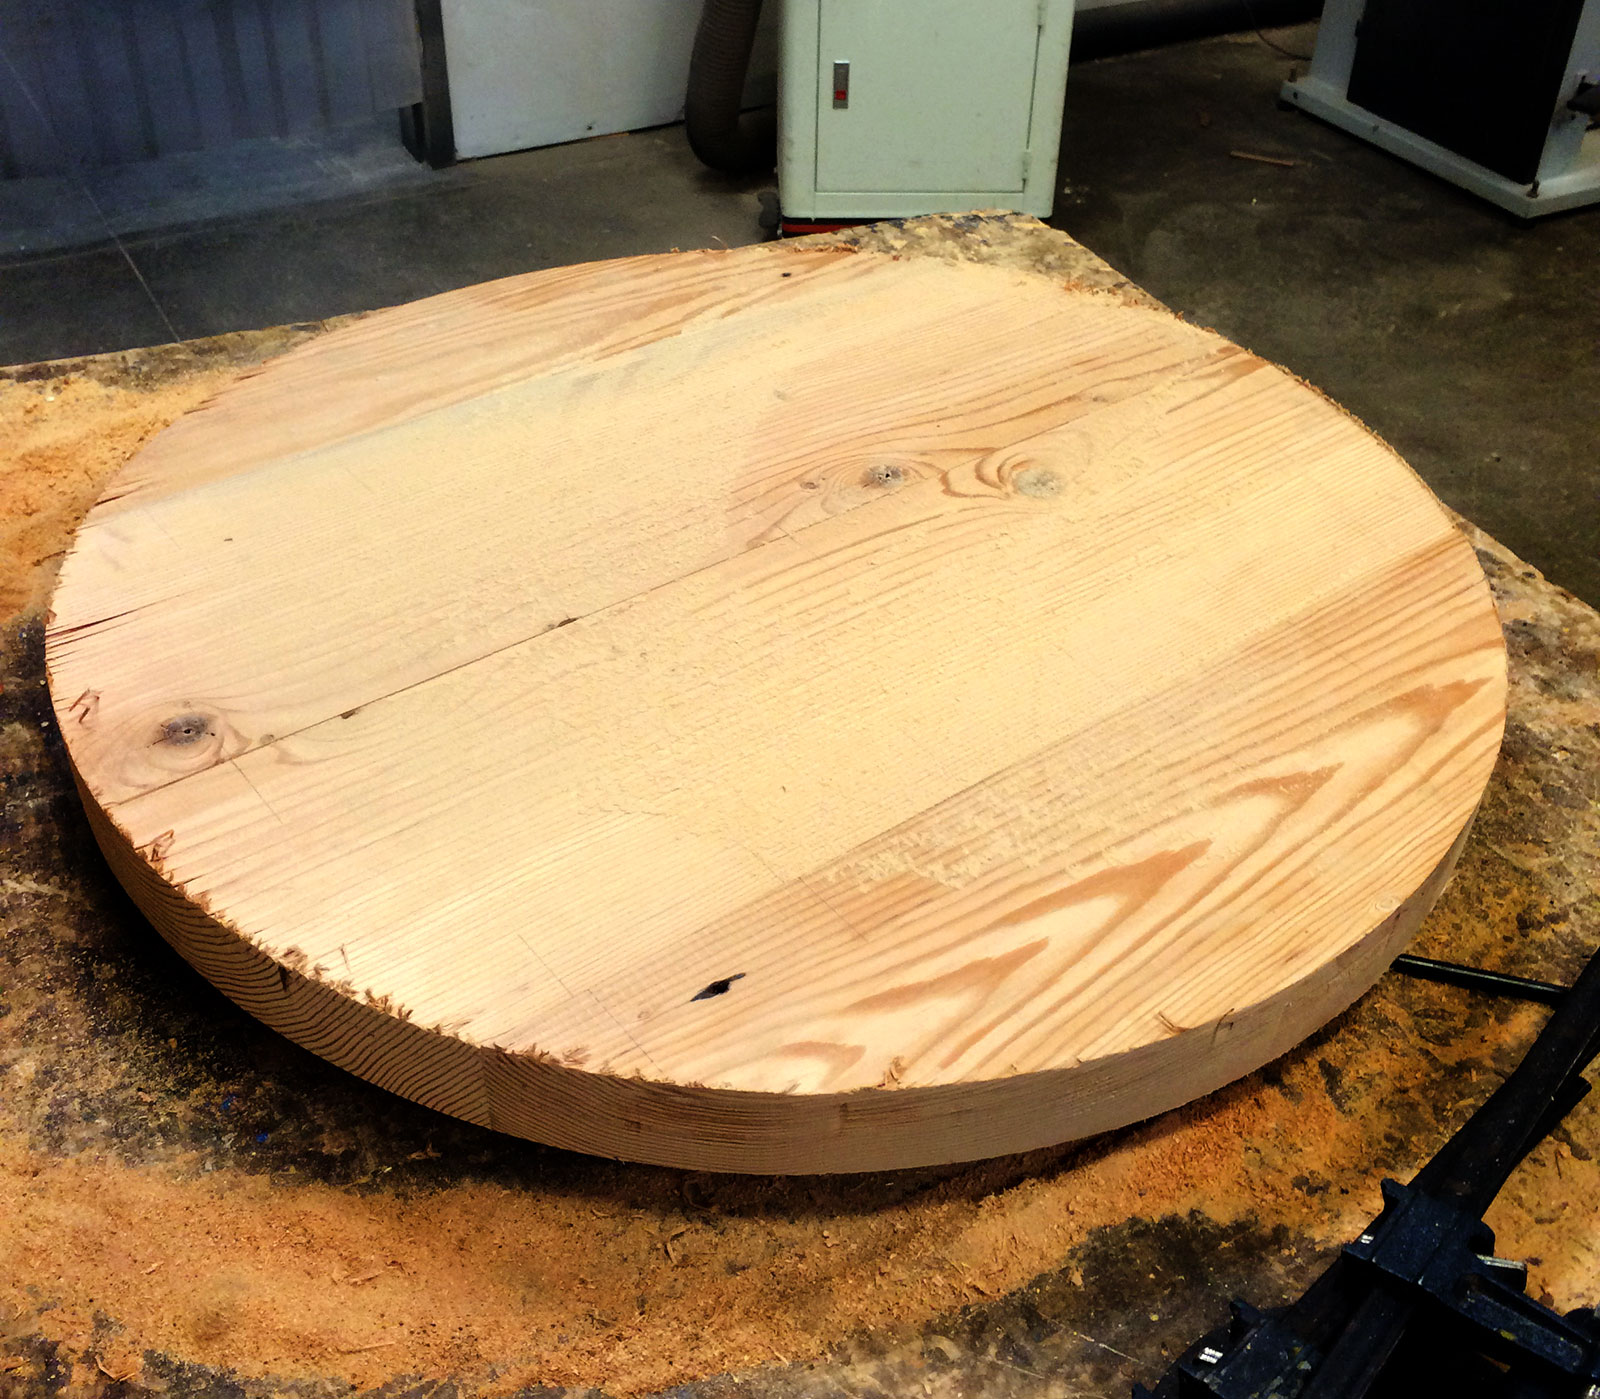
Once the table had time to dry overnight, it was ready to cut. To make a round table top, I used a scrap piece of wood and a plunge router to create a jig. I drilled a hole in the center of where I wanted the table to be, and used a pin to create an axis, around which I could move the router.
It took a few passes to cut all the way through, and it's good to have a sacrificial board below so when you make the final cut, you don't carve up the table you're working on. Clamping the tabletop to the sacrificial board can also help to avoid split edges on the wood as you cut through.
Recorded at 6x speed:
Of course, the resulting product isn't exactly pretty just yet. It will still need a lot of sanding and other work to finish it up. But, you can see it taking form.
To finish the edges, I used a table router. This allowed me to add a bevel to the lower side (see the image below). A simple handheld sander was enough to smooth out the top, and I finished the top edge by hand. I didn't want to round the edges too much, I wanted to just slightly blunt them.
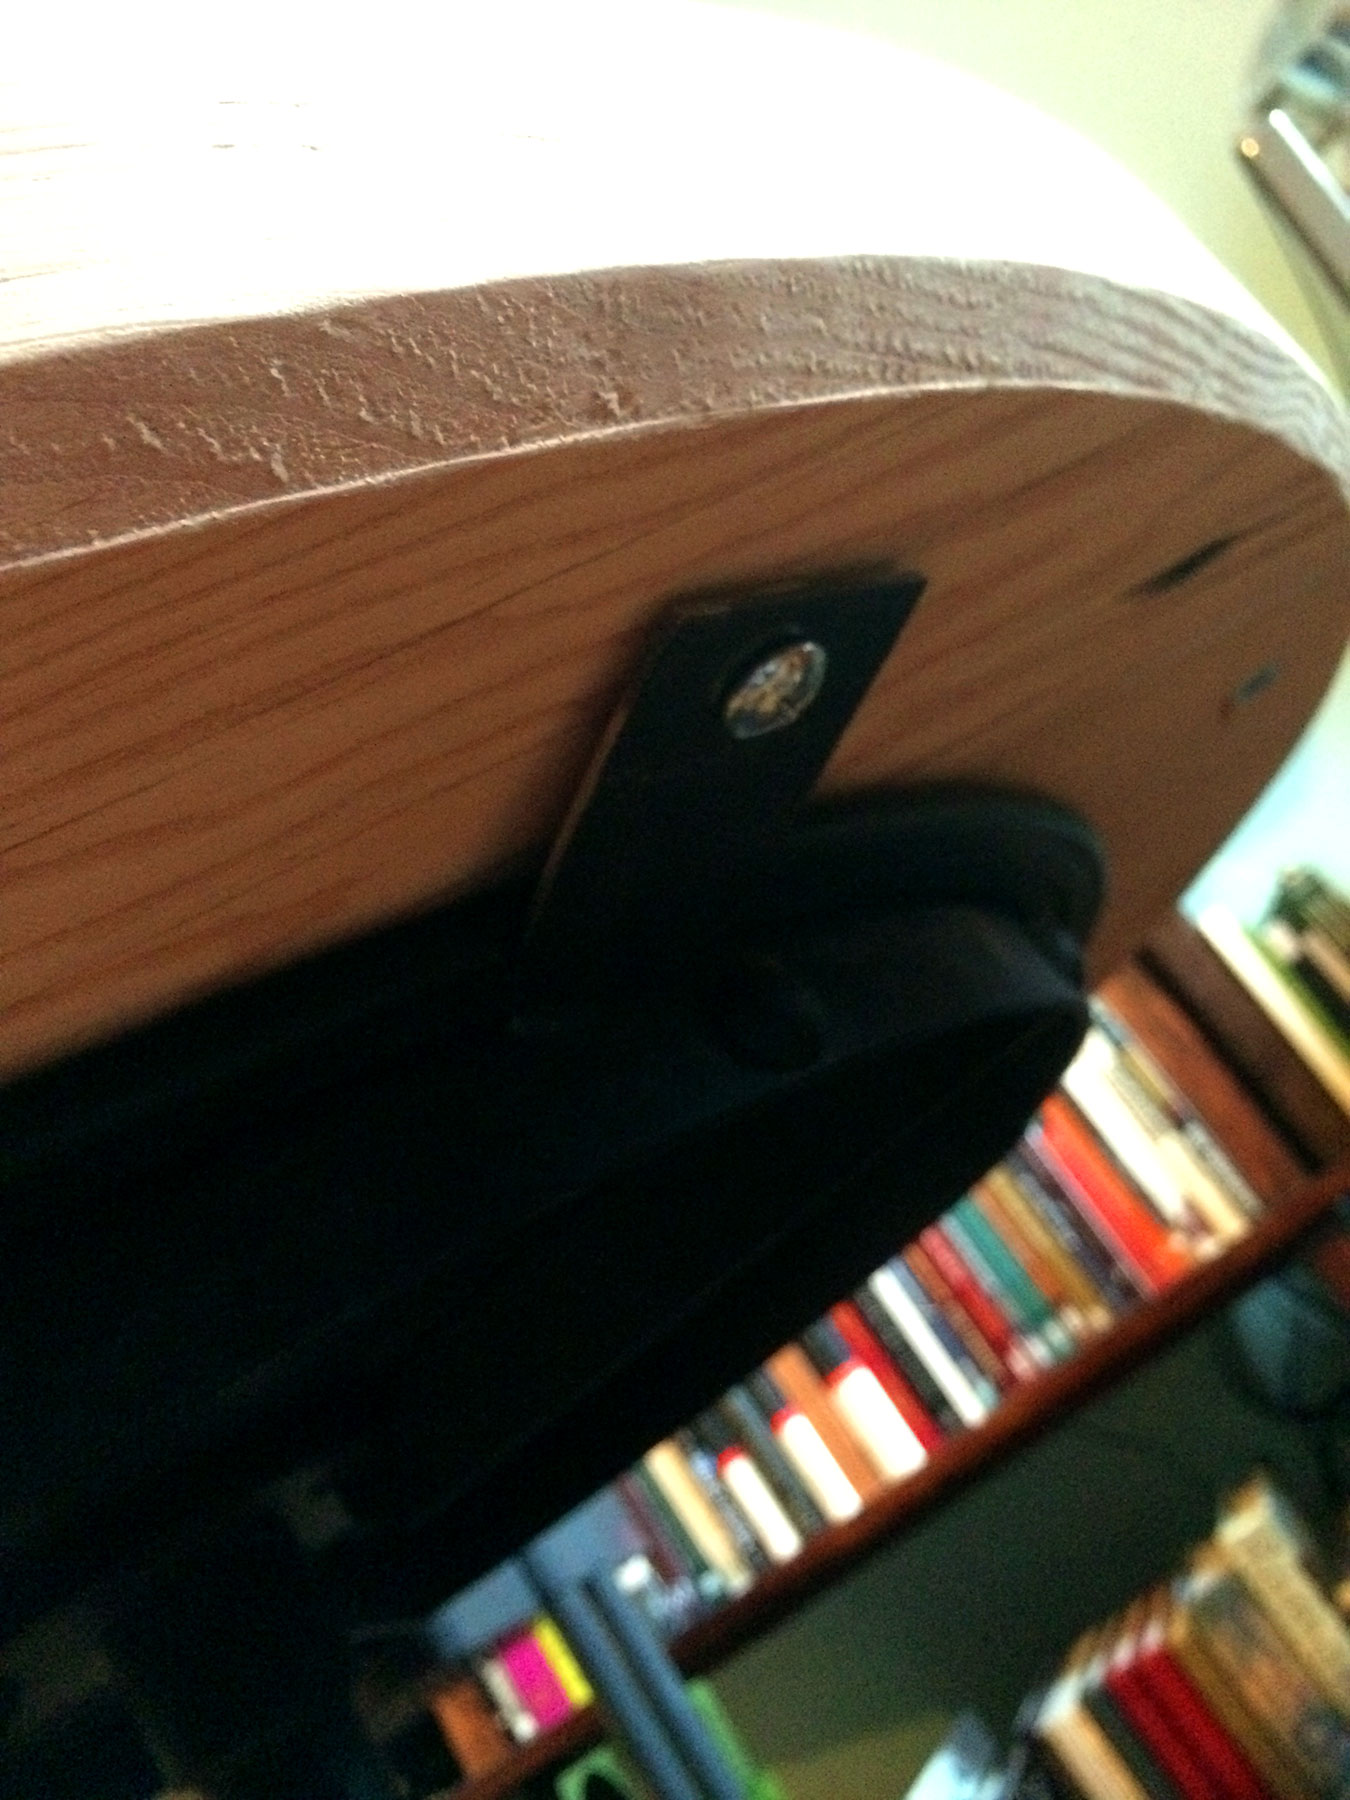
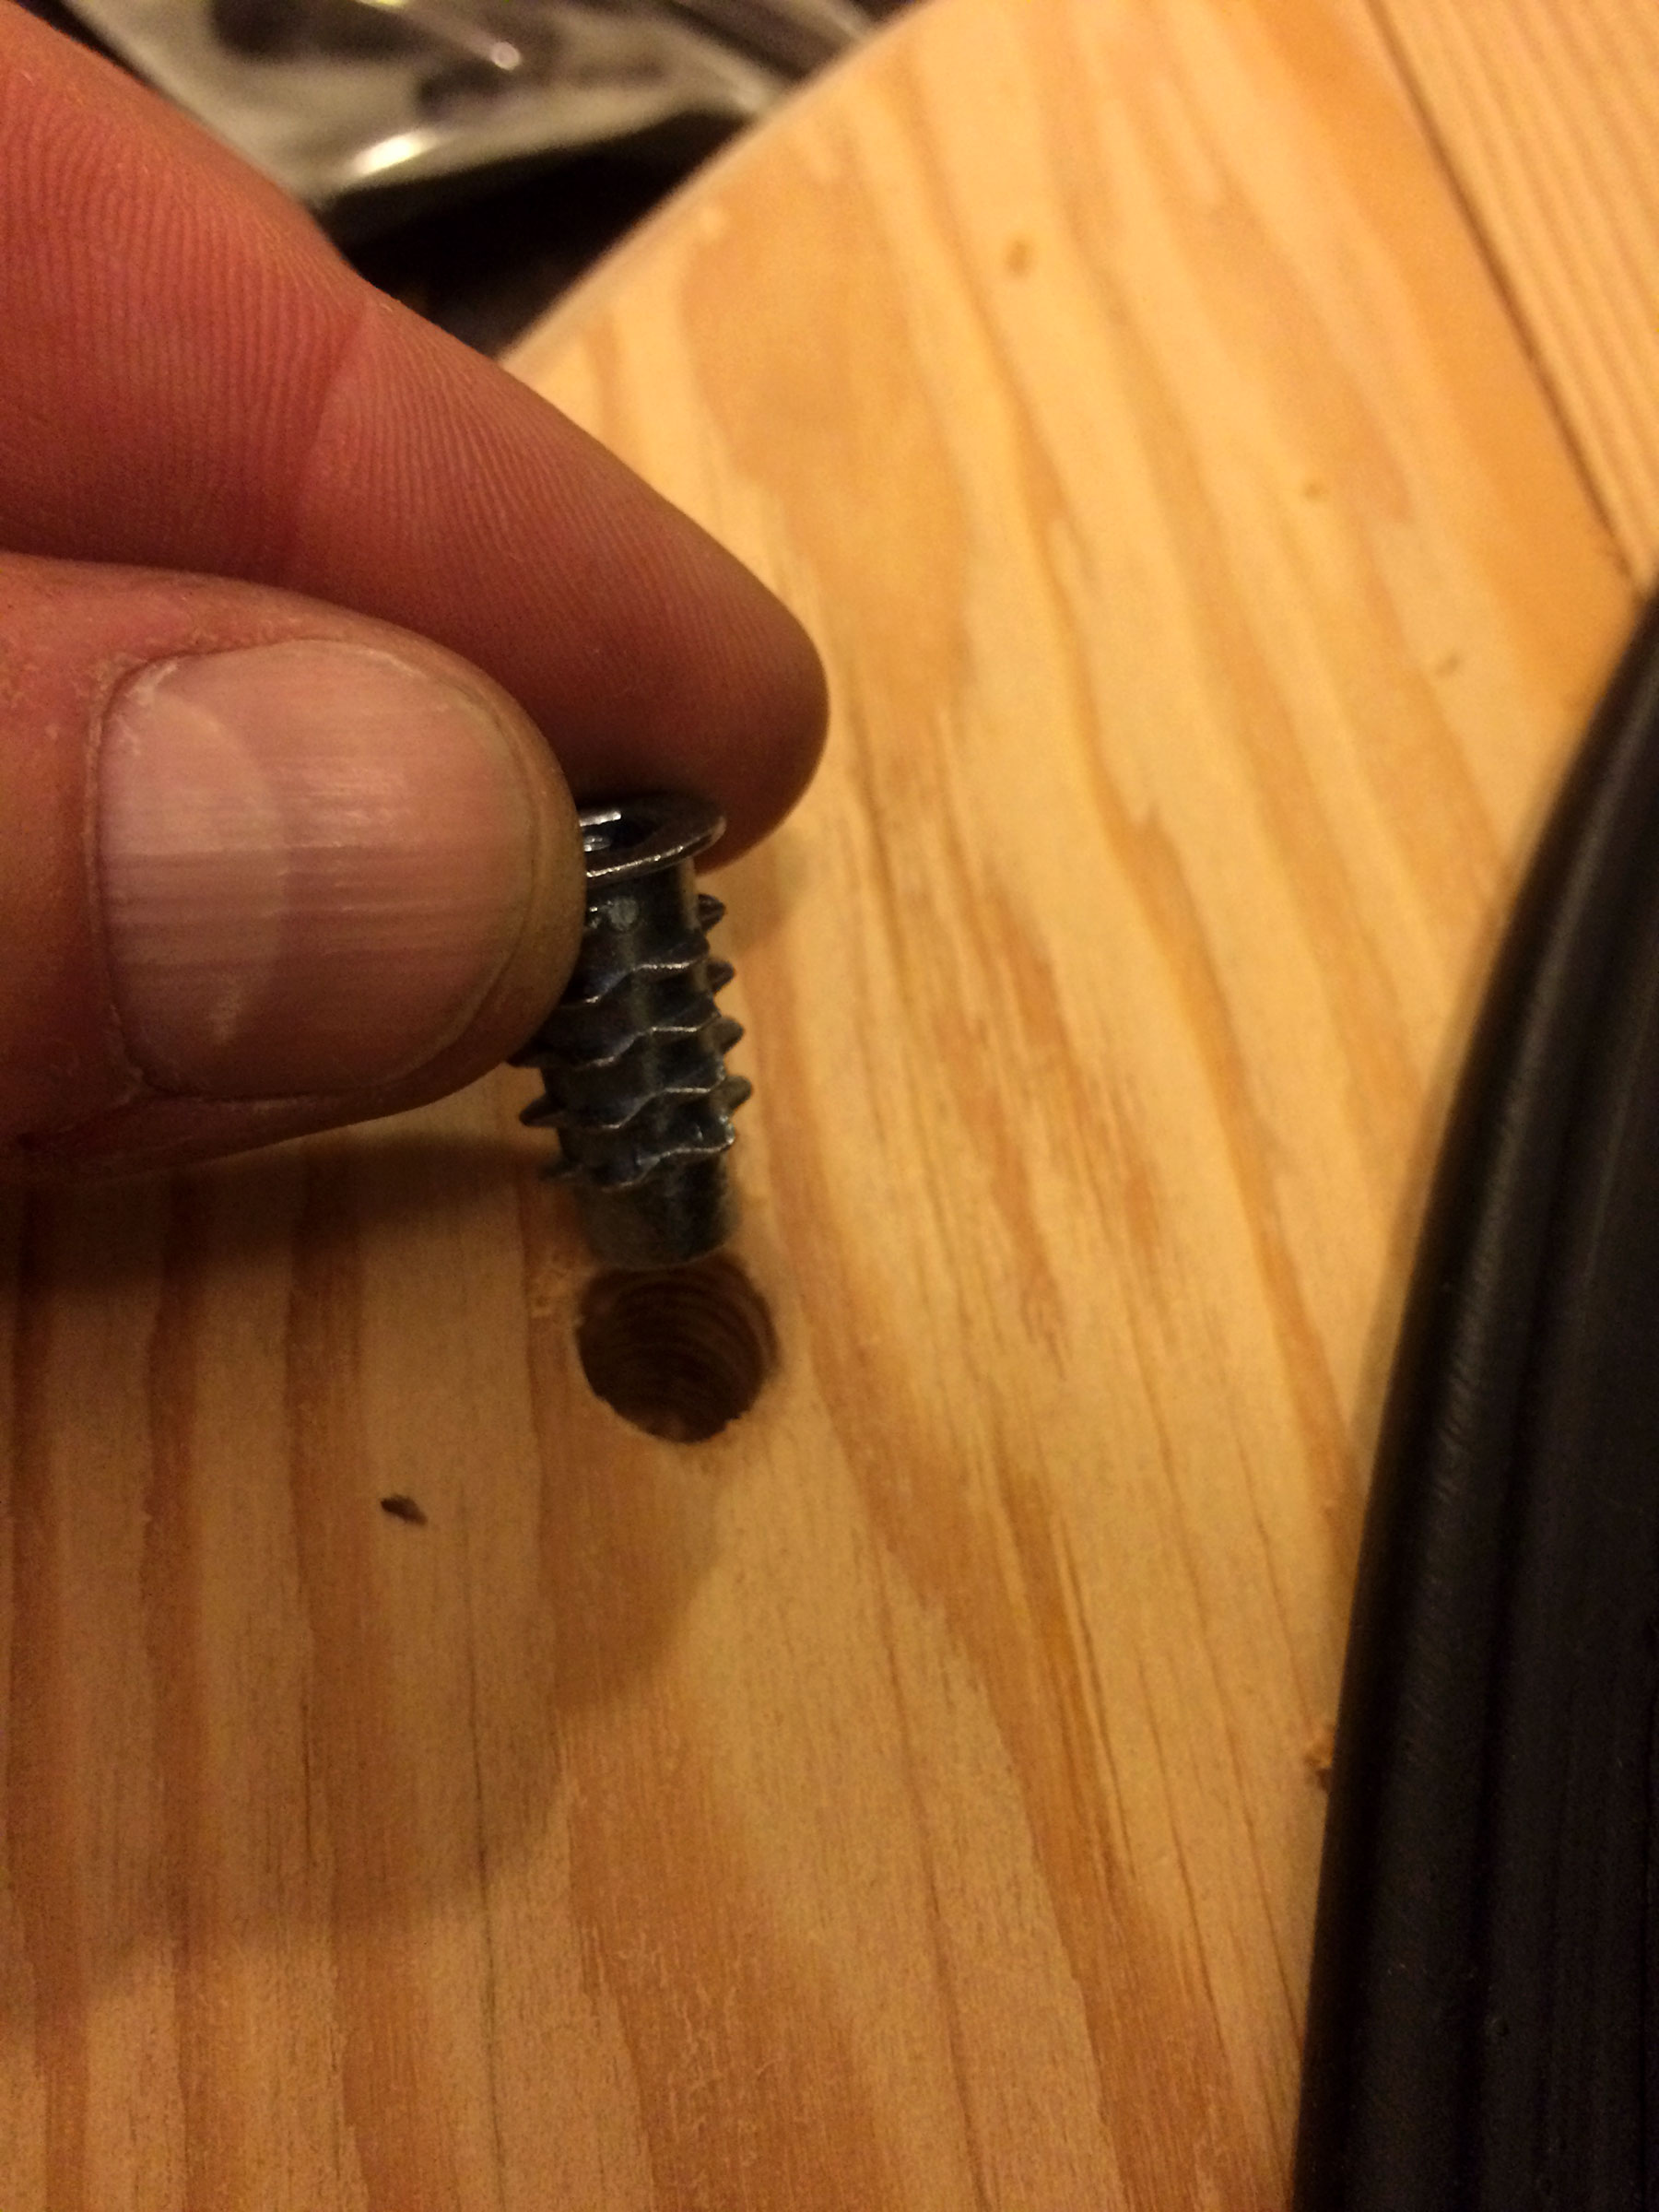
To the bottom of the tabletop, I added "accessory ports". Basically, mounting holes where you can screw in hooks or other things. I used some of them to screw in clamps to attach it to the base, and others to screw in hooks to help organize computer cables.

Because I wanted a rough, industrial look, I chose to keep the natural color of the wood, and finish it with a wax coat.